
Improving the Look of Your Home With Shiplap Siding
Sep 12, 2019
Montana is known for its rugged and natural beauty. Do you desire to incorporate that beauty, that rustic style, into your home? Whether you are thinking about a rustic siding or an interior rustic look, Marks Lumber's Shiplap Siding may be just what you need. We can provide you with both the materials and the expert installation and care instructions to ensure you enjoy the natural beauty of your Shiplap for years.
Types and Uses
Shiplap comes in a variety of types, sizes, surfaces and grades, depending on the look you desire.
- 2 Types - Standard and Fine Line
- 3 Sizes - 4, 6 and 8"
- 4 Surfaces - Circle Sawn, Band Sawn, Planed and Wirebrushed
- 2 Grades - #2 and Rustic
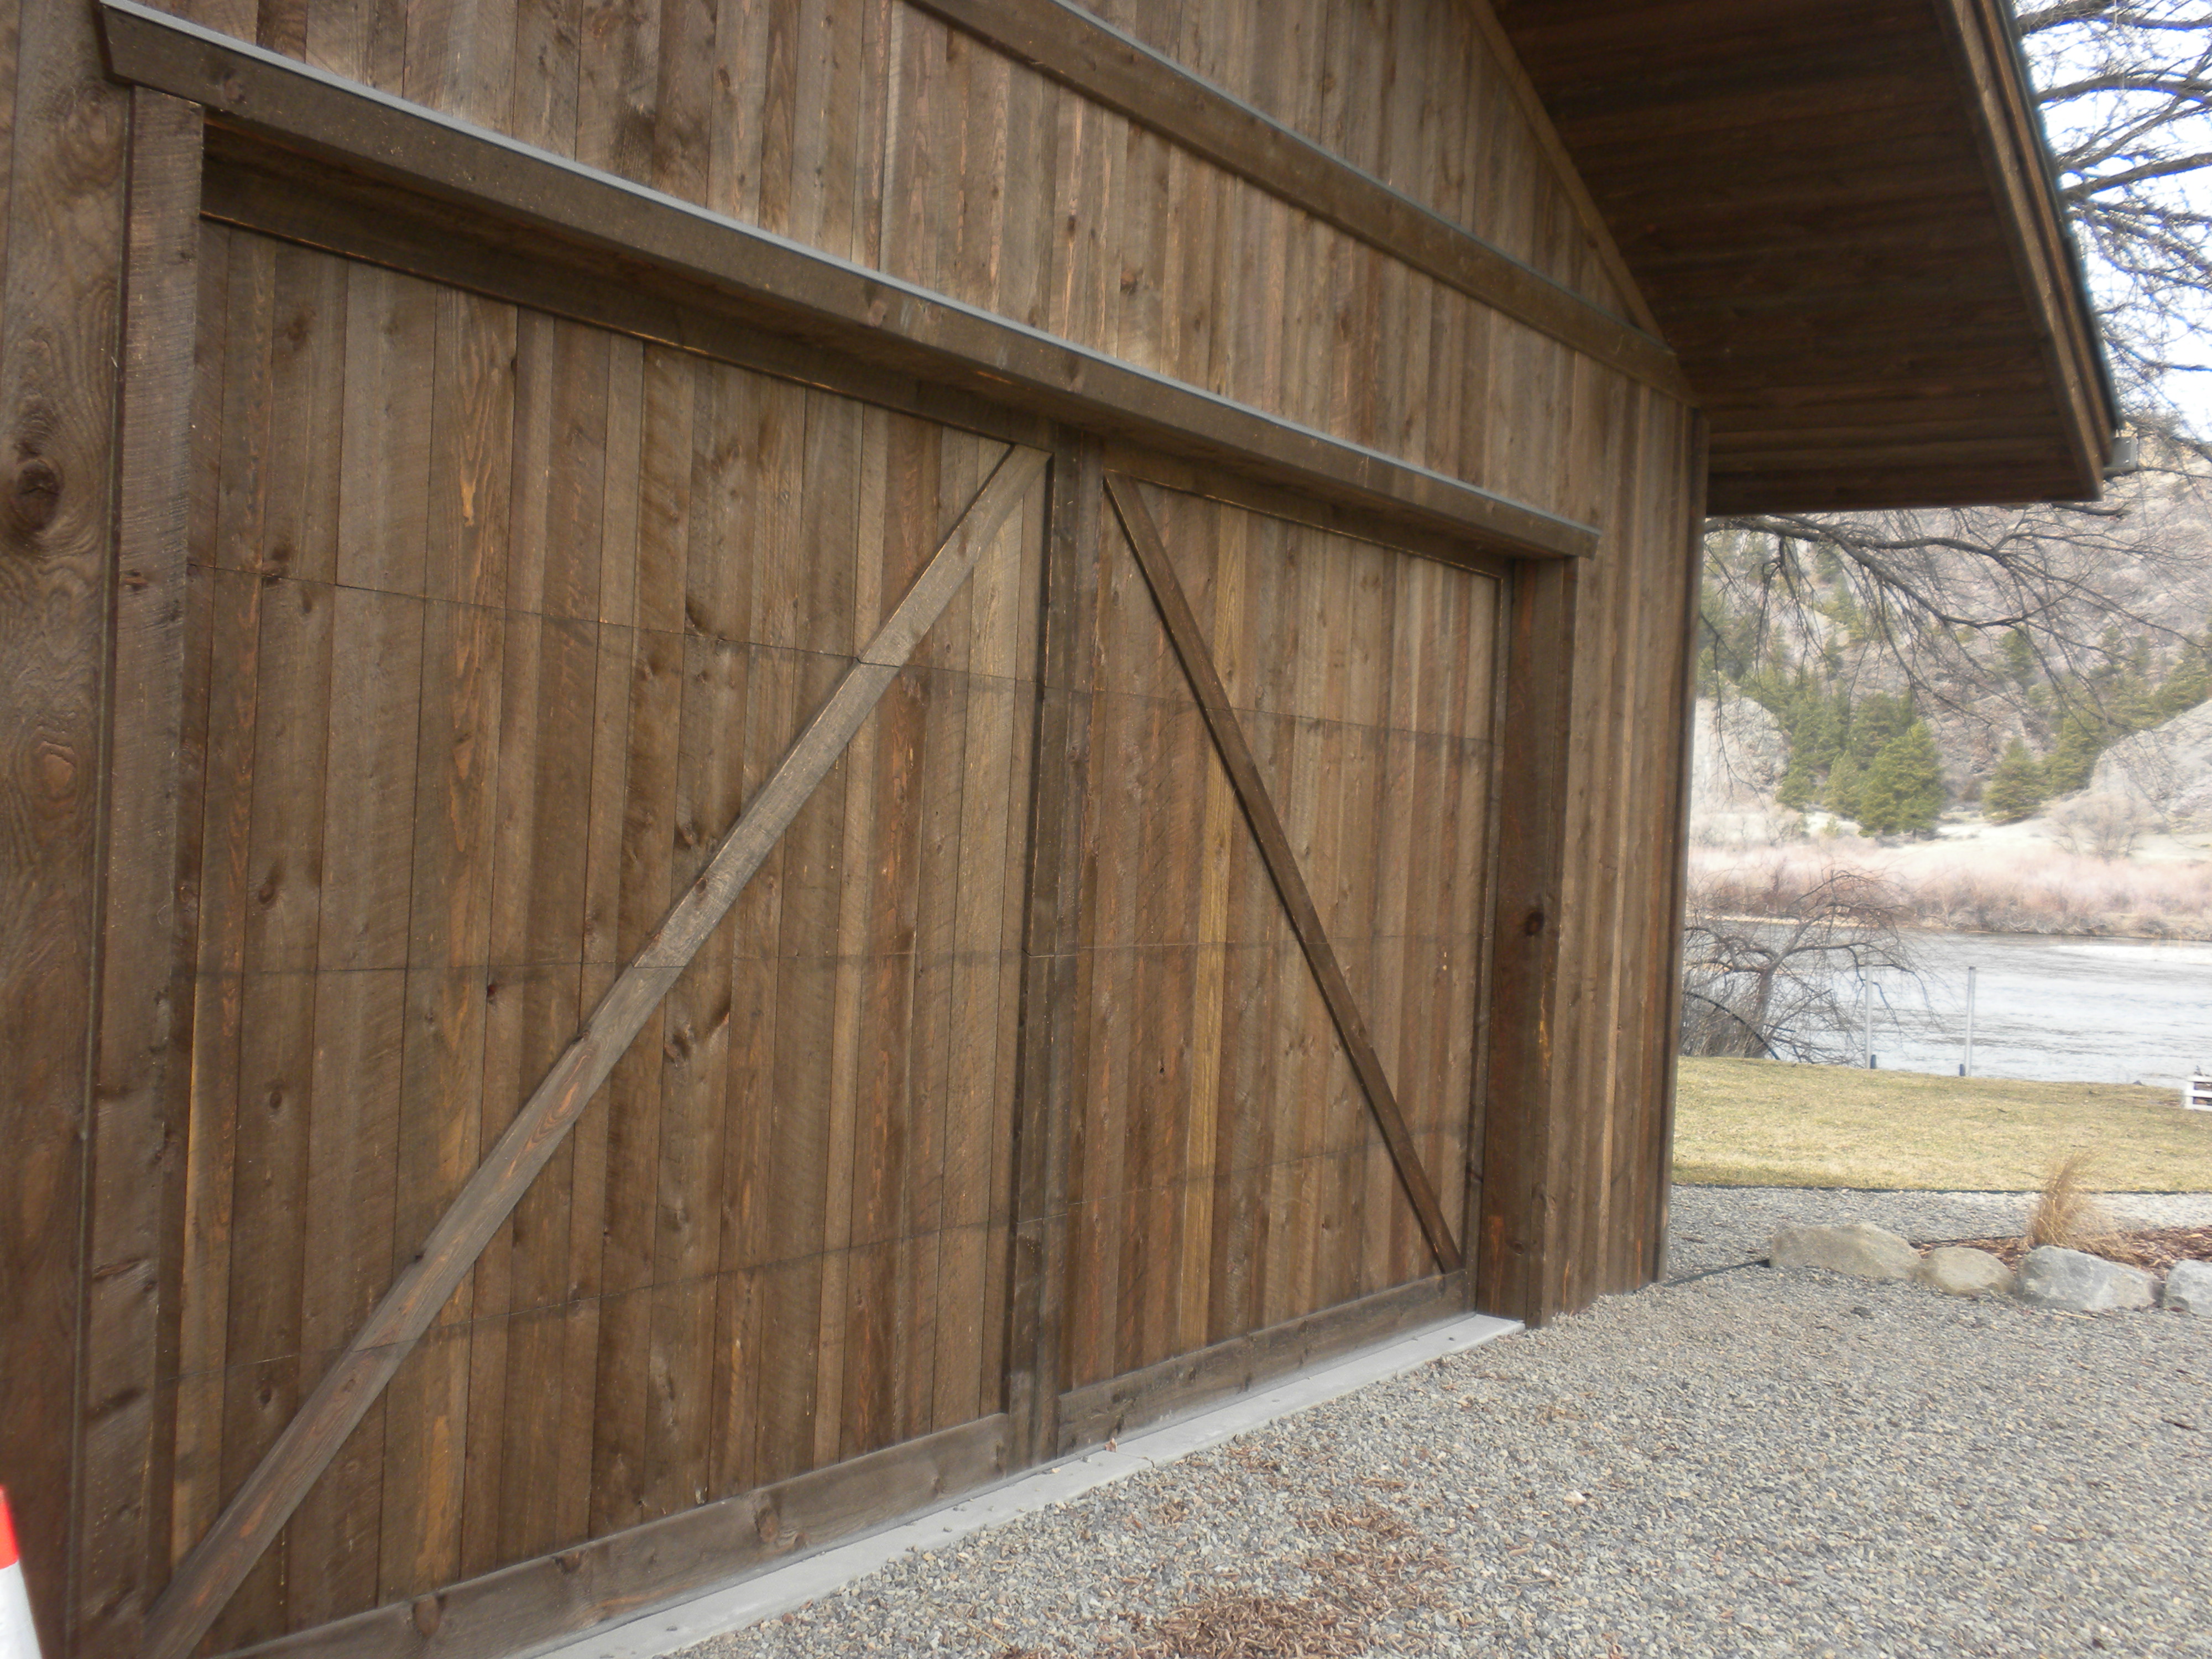
On your home's exterior, you can use Shiplap for siding and soffits. The best interior uses are for wall paneling, ceilings, and wainscoating.
At Marks Lumber, we manufacture our Shiplap from Kiln Dried Douglas Fir. We currently have inventory in the following specifications:
- #2 Standard Shiplap 6’’ and 8’’ Circle Sawn
- #2 Fineline Shiplap 6’’ Circle Sawn
- Rustic Standard Shiplap 6" and 8’’

Marks Lumber Shiplap Installation
Overview:
Proper installation of wood sidings is critical to their longevity. Marks Lumber recommends following Western Wood Products Association (WWPA) guide lines for installation and finishing wood siding. With correct installation and maintenance, wood sidings should last for decades.
Step 1: Acclimatization
As with most wood products, acclimating siding is critical to quality installation. Stacking siding materials with space between them for a minimum of 10 days is recommended for dried Marks Lumber products.
Step 2: Pre-finishing/Finishing
Finishing is obviously a critical step to achieving a long term installation, and in dry climates pre-finishing is advised. Both sides, edges, and all cut ends should be pre-finished or primed. Make sure pre-finish is compatible with the final finished products.
Note: Water-based finishes can add significant moisture to boards, and lead to swelling. Make sure that siding is allowed to re-dry and acclimate after pre-finish application, and before installation.
Step 3: Installation
Natural wood siding should be installed over a weather resistant barrier for all sheathing materials. If sheathing or the weather resistant barrier gets wet prior to installation, allow surface to dry before siding is installed.
When siding is applied over wood-based sheathing, nail penetration should be 1 ½ inch for smooth-shank nails (not recommended) and 1 ¼ inch for ring-shank nails.
Vertical Installation
Siding should be nailed to horizontal blocking not exceeding 32 inches on center. To join pieces of siding, cut bevel on ends of both pieces of material to be joined (scarf joint).
Horizontal Installation
When installed over sheathing, siding should be nailed to vertical studs on maximum 24 inch centers. If nailed directly to studs, 16 inch centers or less are called for.
Step 4: Maintain
Most finishes on natural wood sidings benefit from regular washings. A light pressure power wash with a product such as Perma-Chink Systems’ Log Wash will remove dust and harmful pollen.
Learn More About Our Shiplap Siding Products
View Shiplap Siding Products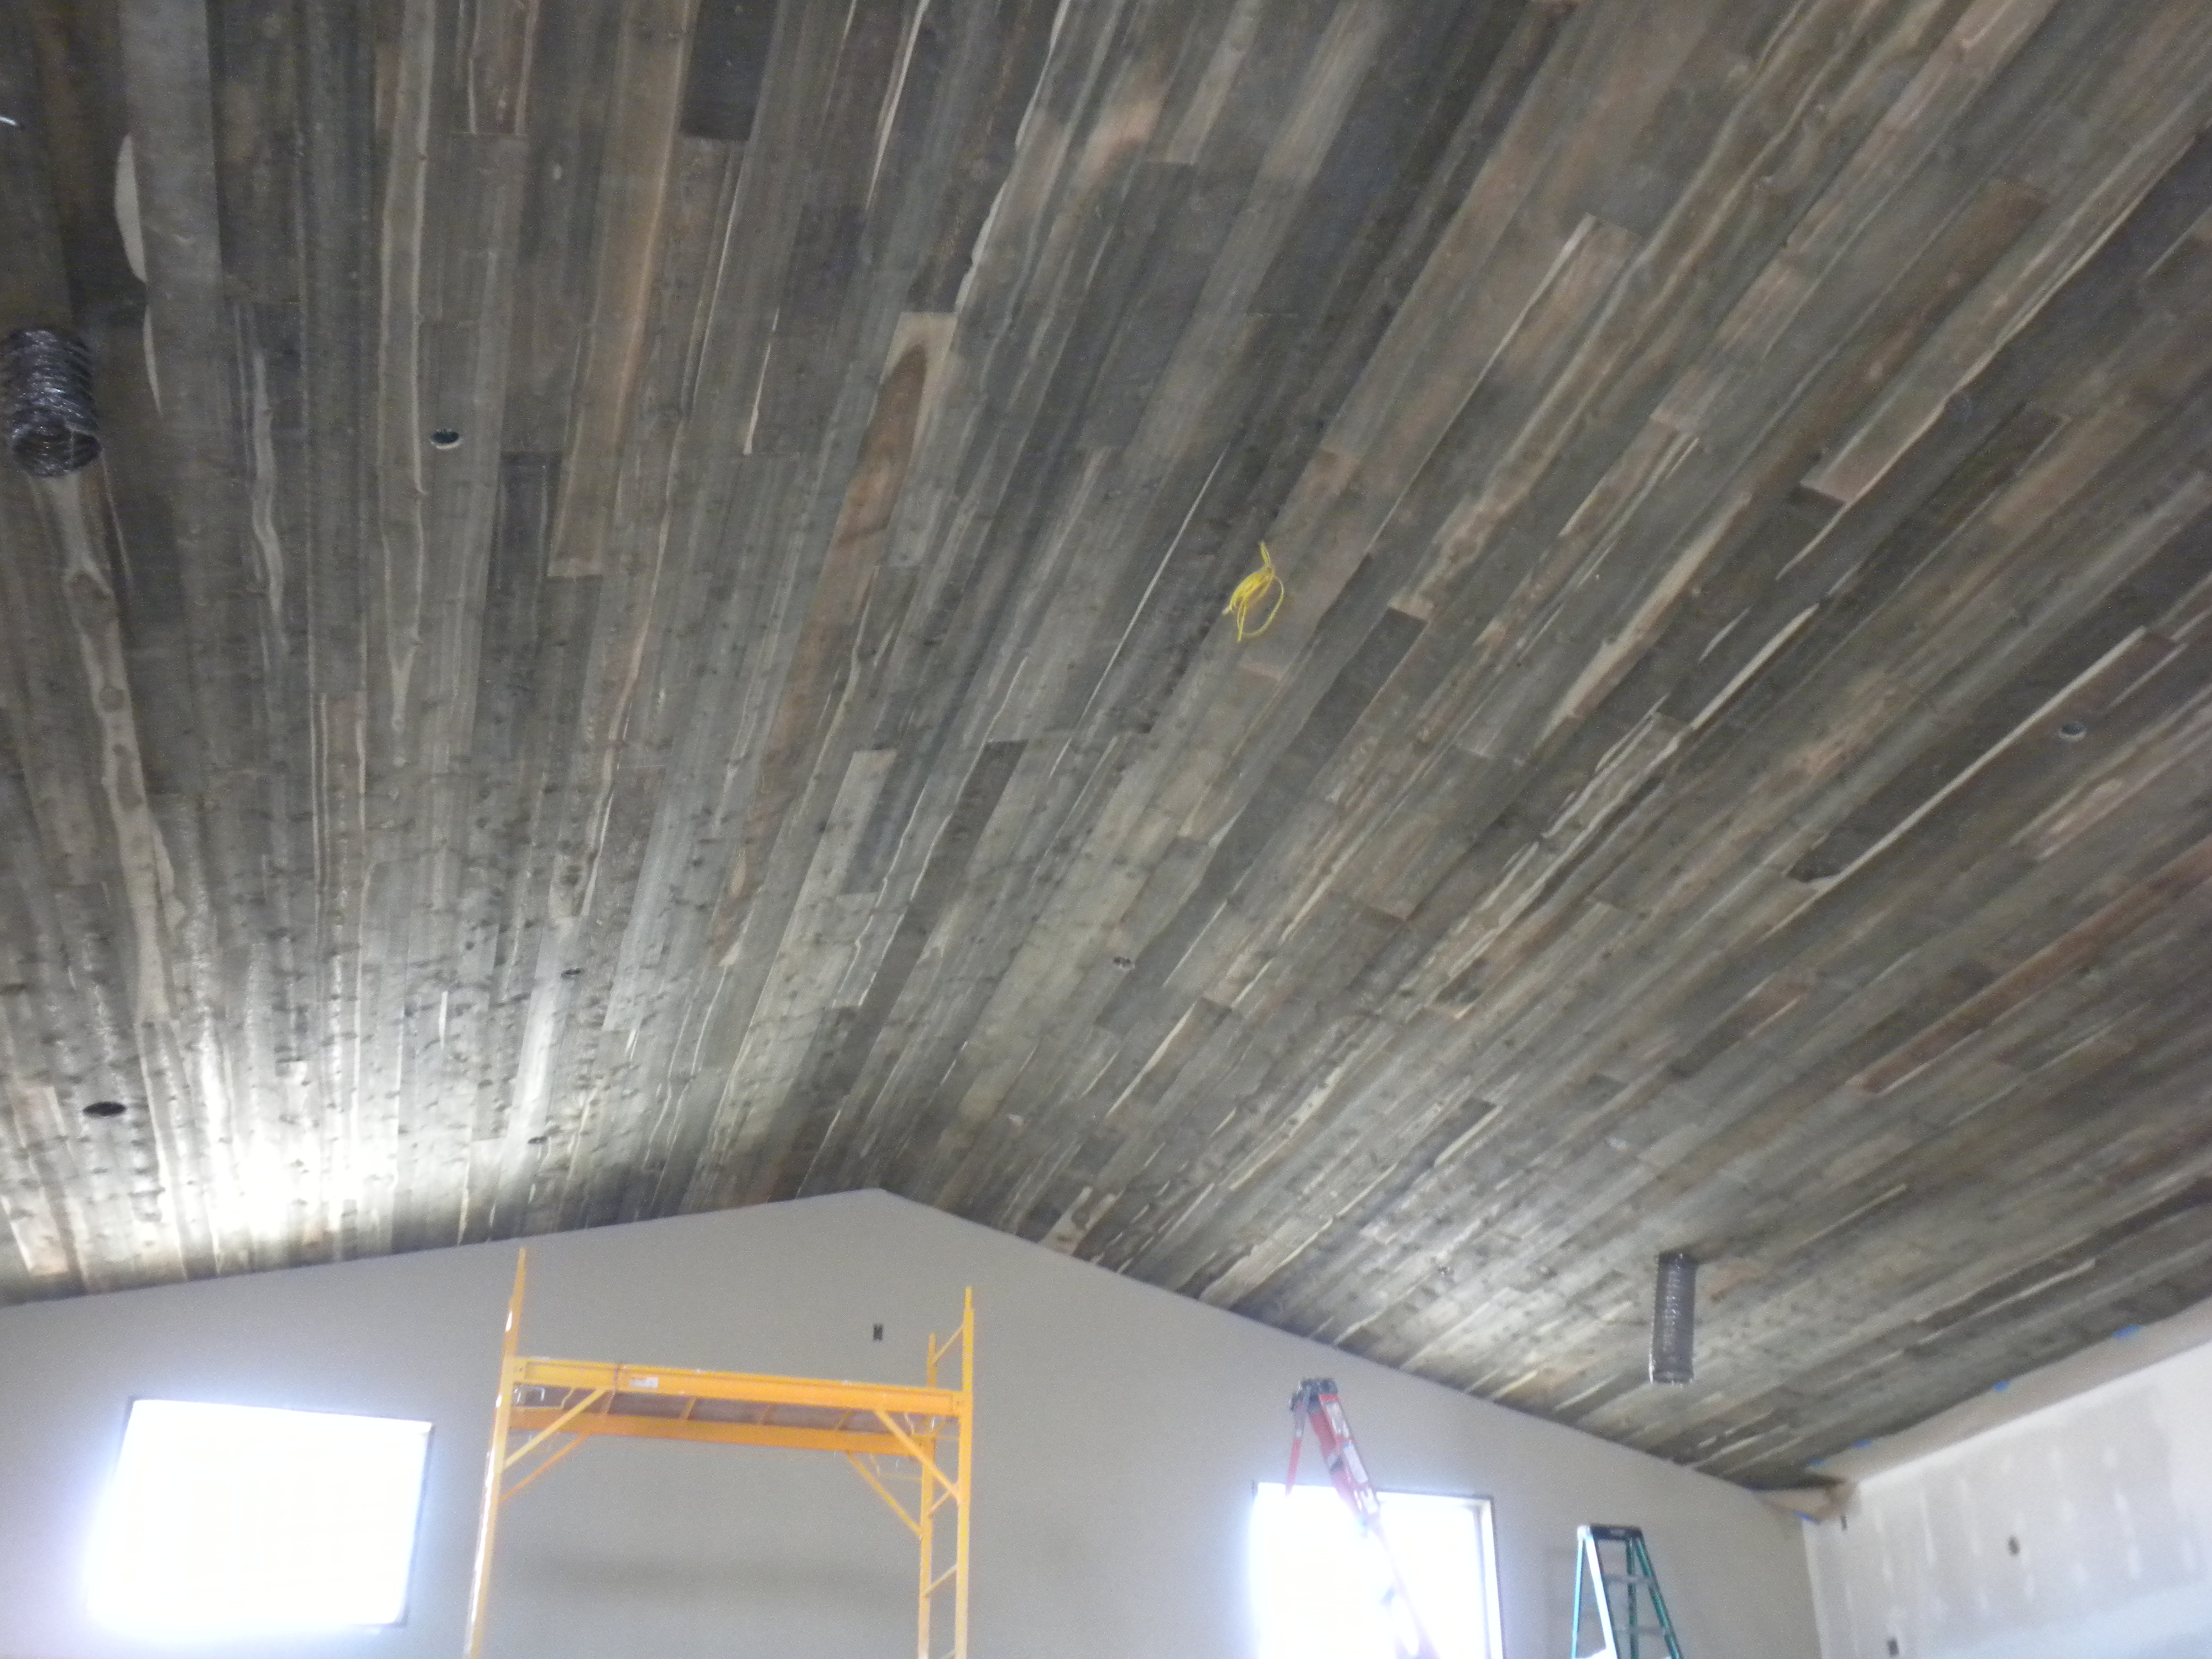


Other Posts
18
Jan
2023
Jan
2023
Five Timeless Interior Design Trends
When it comes to interior design, it may feel daunting to keep up with the ever-evolving trends that come with each passing season. Well, we're here t...
04
Jan
2023
Jan
2023
Lumber Textures Defined
Lumber comes with the benefit of versatility. One of the simplest ways to create intrigue with lumber products is by using different textures. Circle ...
21
Dec
2022
Dec
2022
Tips for Using Radiant Heating with Wood Floors
One of the best parts of living in Montana is experiencing all the seasons – and yes, we include wintertime. However, as much as we may love the...