How to Install Your Own Wood Flooring
Sep 09, 2020
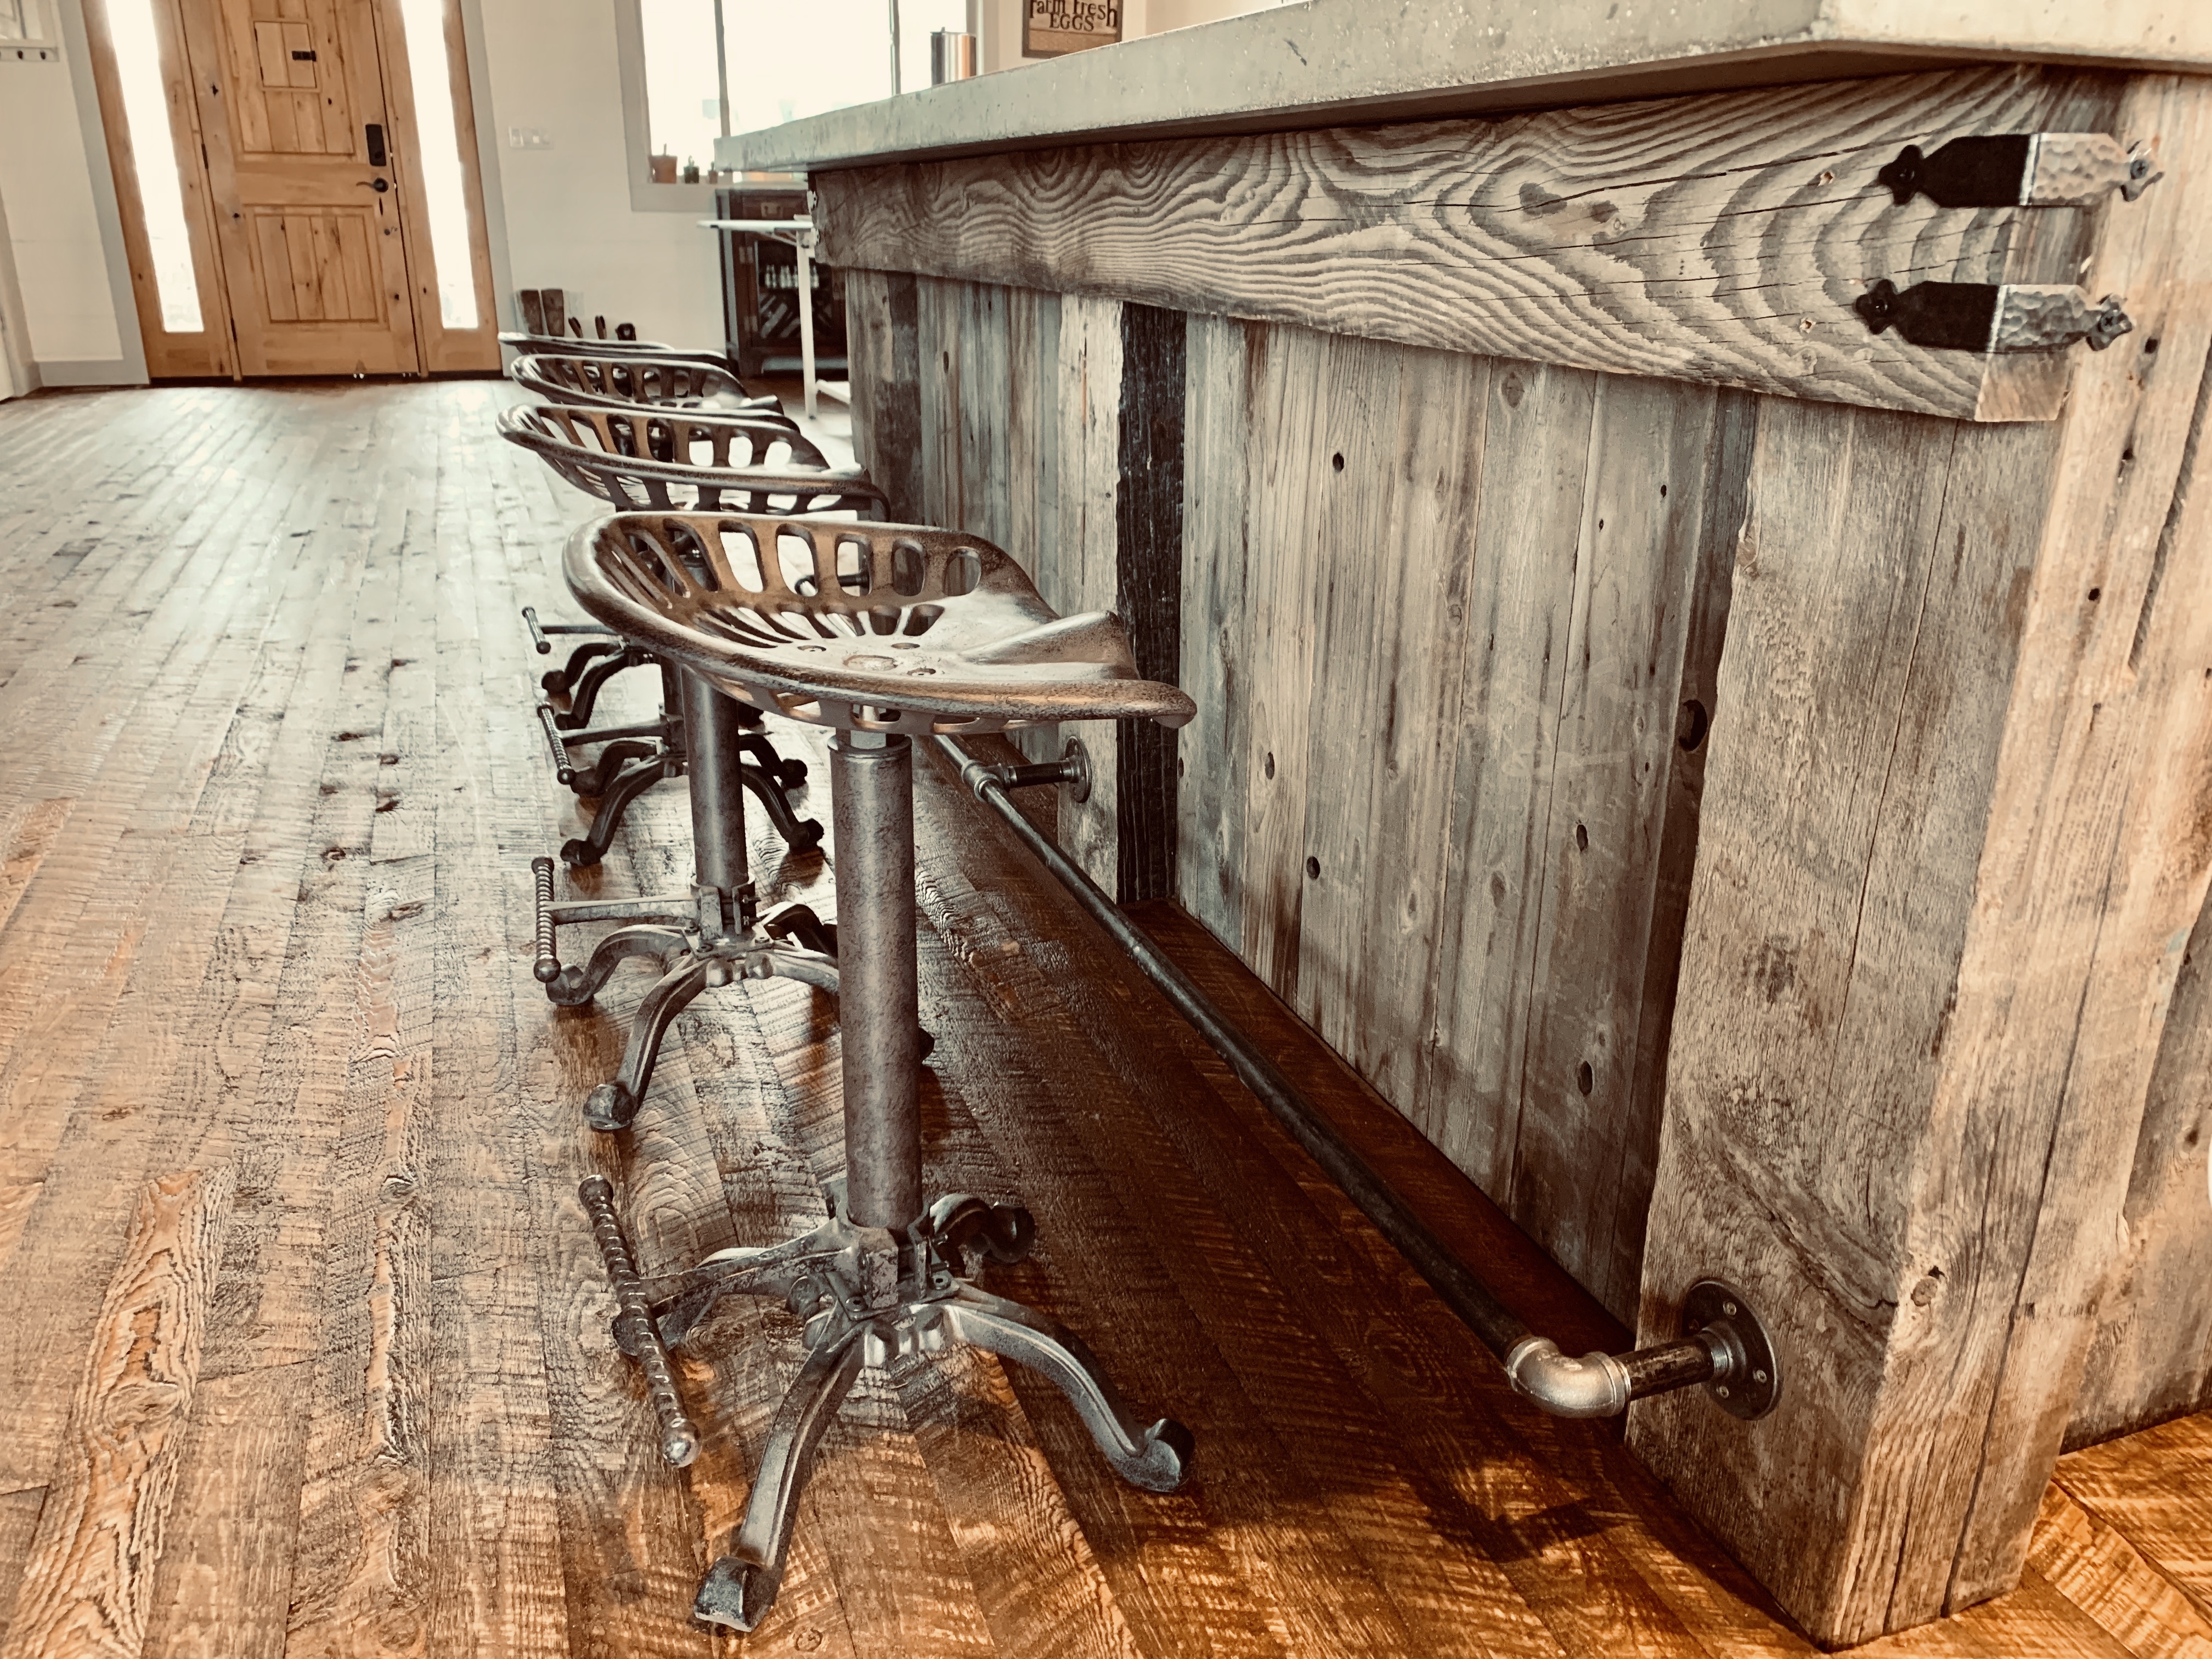
Wood floors continue to be one of the most popular flooring options available because of their unmatched appearance and durability. Natural wood flooring is an ideal investment for any homeowner because of the warmth and satisfaction it brings to the homeowner and the asset it becomes once it’s time to sell.
While installing wood floors yourself may sound intimidating, the process is fairly straightforward and can save you money on installation, maximizing your return on investment. Not sure where to start? Marks Lumber’s end-matched, circle sawn flooring makes this process a breeze! Here is our recommended installation process for a smooth and rewarding DIY project.

Pre-Installation
The first step in installing any natural wood flooring is to let the wood acclimate for a minimum of ten days at the install site. Acclimation is very important for wood products, as wood will move and shrink when adjusting to the moisture levels of the surrounding environment.
While you let the wood acclimate, consider the sub-flooring that you will be installing over and how that may affect your installation. If your wood flooring is going over a non-heated crawl space, you will need a vapor barrier between the space and the flooring. You will also need to check the moisture content of the sub-floor, as the sub-floor and flooring moisture levels should be close to the same percentage at approximately 6 to 8 percent.
Installation
Now the fun really begins! Start on a nice, straight wall and snap a line where the tongue side of the board will be. You will then use an 8-penny finish nail to nail the first board in, approximately ½-inch from the edge of the board on the wall side, doing so approximately every ten inches. Using a flooring nailer, nail the boards every 8-10 inches through the tongue, starting about 1 inch from the end of the board. Hit the nailer once to set the boards as tight as possible. Check the joints and hit the nailer again to set the nail. Use any short pieces as the first or last board in a row, and the longer pieces in the center. For the last couple of rows, you should use a pneumatic air nailer, making sure to wedge the boards in tight. The final board will be nailed in the same fashion as the first row of boards.
Pre-Finish
Once your flooring is installed, the finishing begins. With a 120-grit paper, sand with the grain of the boards (do not sand across the grain). Walk back and forth in a steady motion from one end to the other, usually just a couple times is enough. Check your floor for rough knots and sand with a palm sander if necessary. Make sure to thoroughly sweep and vacuum the floor once sanding is complete.

Stain
If you are staining, start at the edge of the room and apply the stain liberally. We recommend doing so in 4-foot sections, down the full length of the room. Repeat this process until you have done the entire room. Once you have completed the room, begin wiping off the excess stain, starting in the section that you first stained. It is important that you let the stain soak into each section for about the same length of time to ensure a uniform appearance. Don’t worry about walking across the stain at this point, as you will be wiping up your tracks anyway. Now, let the stain dry based on the stain manufacturer’s specifications. Use the 120-grit paper and sand again, bringing out the contrasting colors of the Douglas Fir. Vacuum again to remove any remaining dust.

Seal and Finish
The final step is to seal and finish. To do so, dampen an applicator sleeve with water or use a damp cloth on the floor, going over the floor a few times to get any remaining dust off. Rinse the applicator sleeve clean and shake off any excess water. Using Bona Seal, saturate the applicator sleeve and pour sealer near the wall in a “W” pattern all along the wall and then wipe with the grain. It is very important that you have an even pool of sealer in front of the applicator so you don’t end up with dry spots. Angle the applicator so that the excess finish “rolls off” towards you. Repeat in sections until finished. Work towards a doorway, out of the room. Let dry for two hours.
After the Bona Seal is dry, make sure to check your floor for any rough spots. Lightly sand these spots and dab with Bona Seal. Repeat the above application technique using Bona Mega Finish. You will need to apply two or three coats of the finish. It will be 70 percent cured in 24 hours and 100 percent cured in one week.

Enjoy!
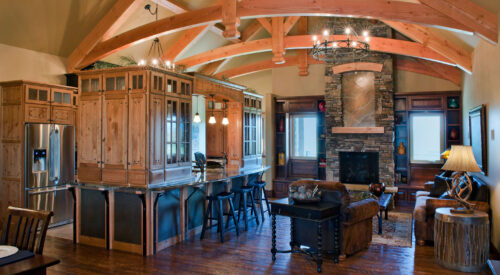
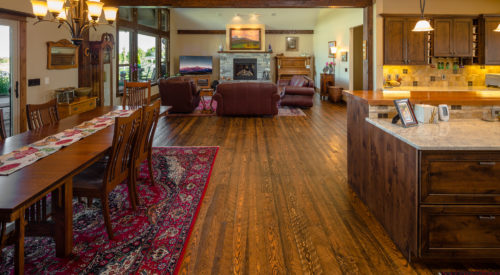
Sit back and take in the natural beauty and character of your new circle sawn floors! For more questions regarding our flooring or installation instructions, please contact us today.
These instructions draw heavily from the Western Wood Products Association guidelines. Complete installation guides can be purchased at their site: http://www.wwpa.org
Learn More About Our Montana Wood Flooring Products
View Montana Wood Flooring Products
Other Posts
18
Jan
2023
Jan
2023
Five Timeless Interior Design Trends
When it comes to interior design, it may feel daunting to keep up with the ever-evolving trends that come with each passing season. Well, we're here t...
04
Jan
2023
Jan
2023
Lumber Textures Defined
Lumber comes with the benefit of versatility. One of the simplest ways to create intrigue with lumber products is by using different textures. Circle ...
21
Dec
2022
Dec
2022
Tips for Using Radiant Heating with Wood Floors
One of the best parts of living in Montana is experiencing all the seasons – and yes, we include wintertime. However, as much as we may love the...